Dyeing Fibre

Fabric before dyeing. Burlap underneath and “silk” scarf. Flannel cotton and a bunch of carded wool was added into the dye mix since they are all natural fibres.
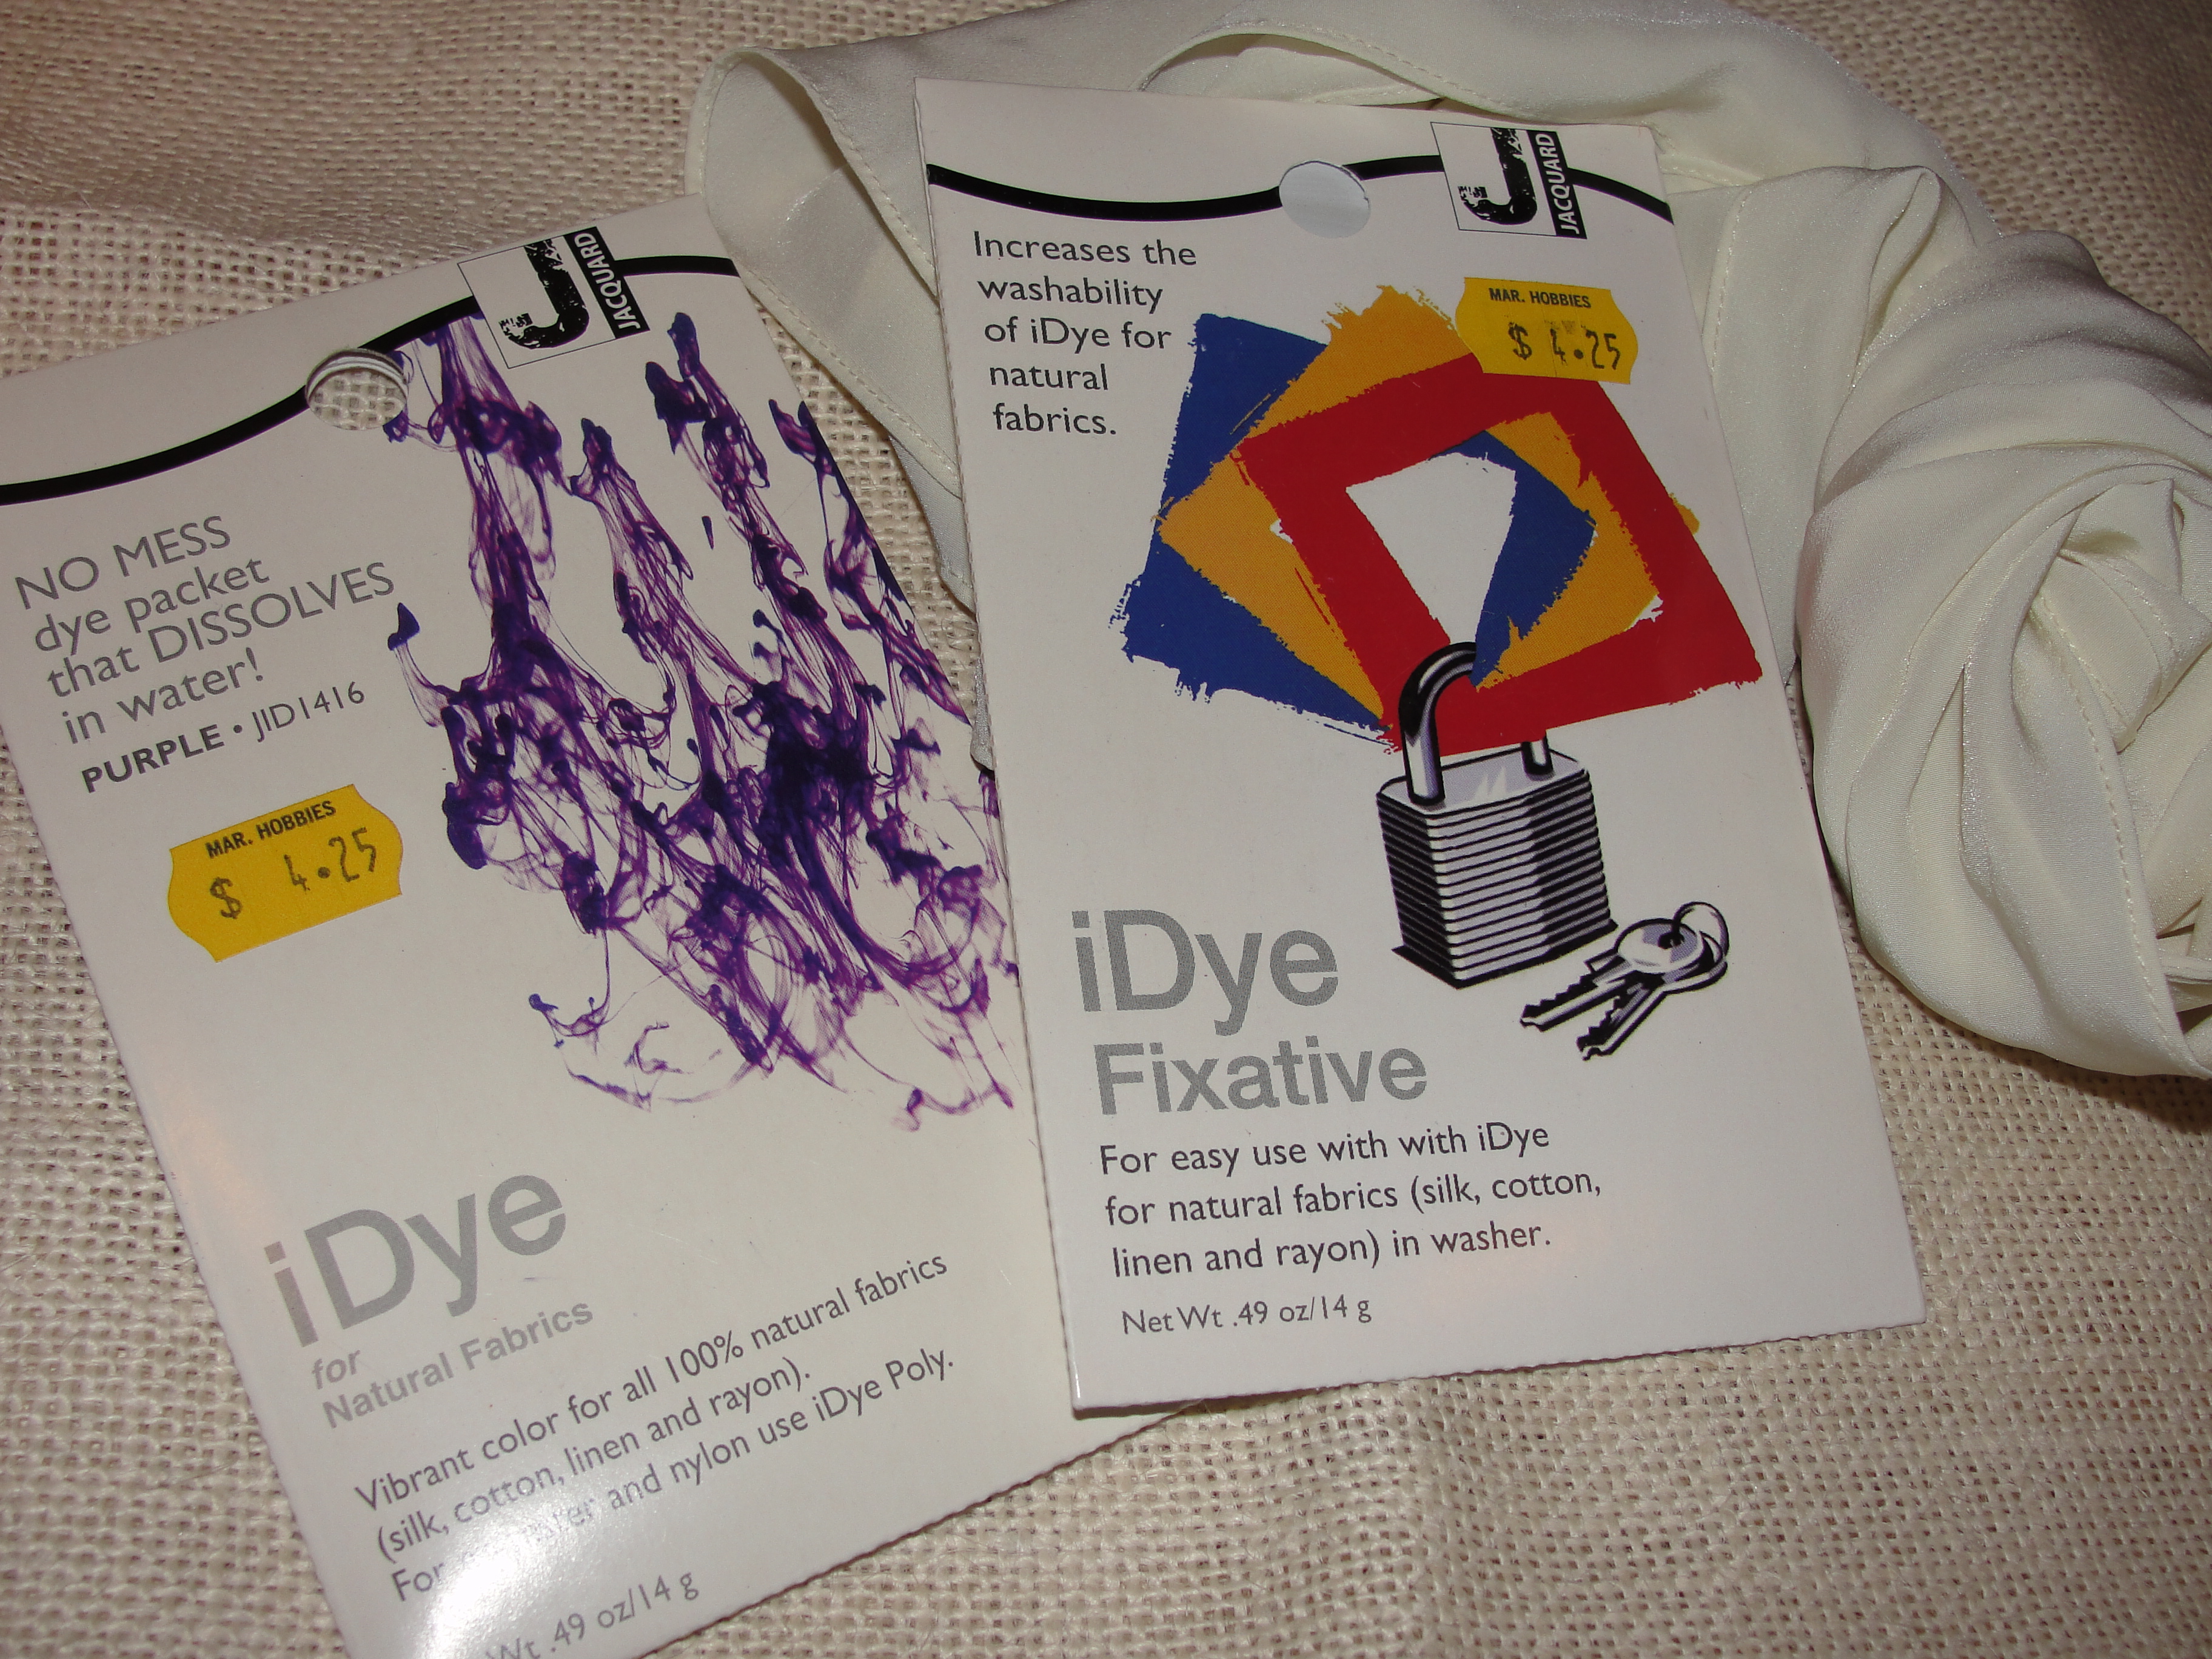
The brand of dye (purple) and the fixative to help maintain the rich colour. This is made for natural fibres.

Pot of dye on the left. Measuring cup of non-iodized salt for the dye bath on right with 1/3 cup of white vinegar for the silk scarf (as per package instructions for silk).

Burlap in process of taking up the dye. The burlap and all other fabrics were wetted first before putting in the dye to help with uniformity of colouring. The fabrics were soaked in the dye for about 30 minutes.
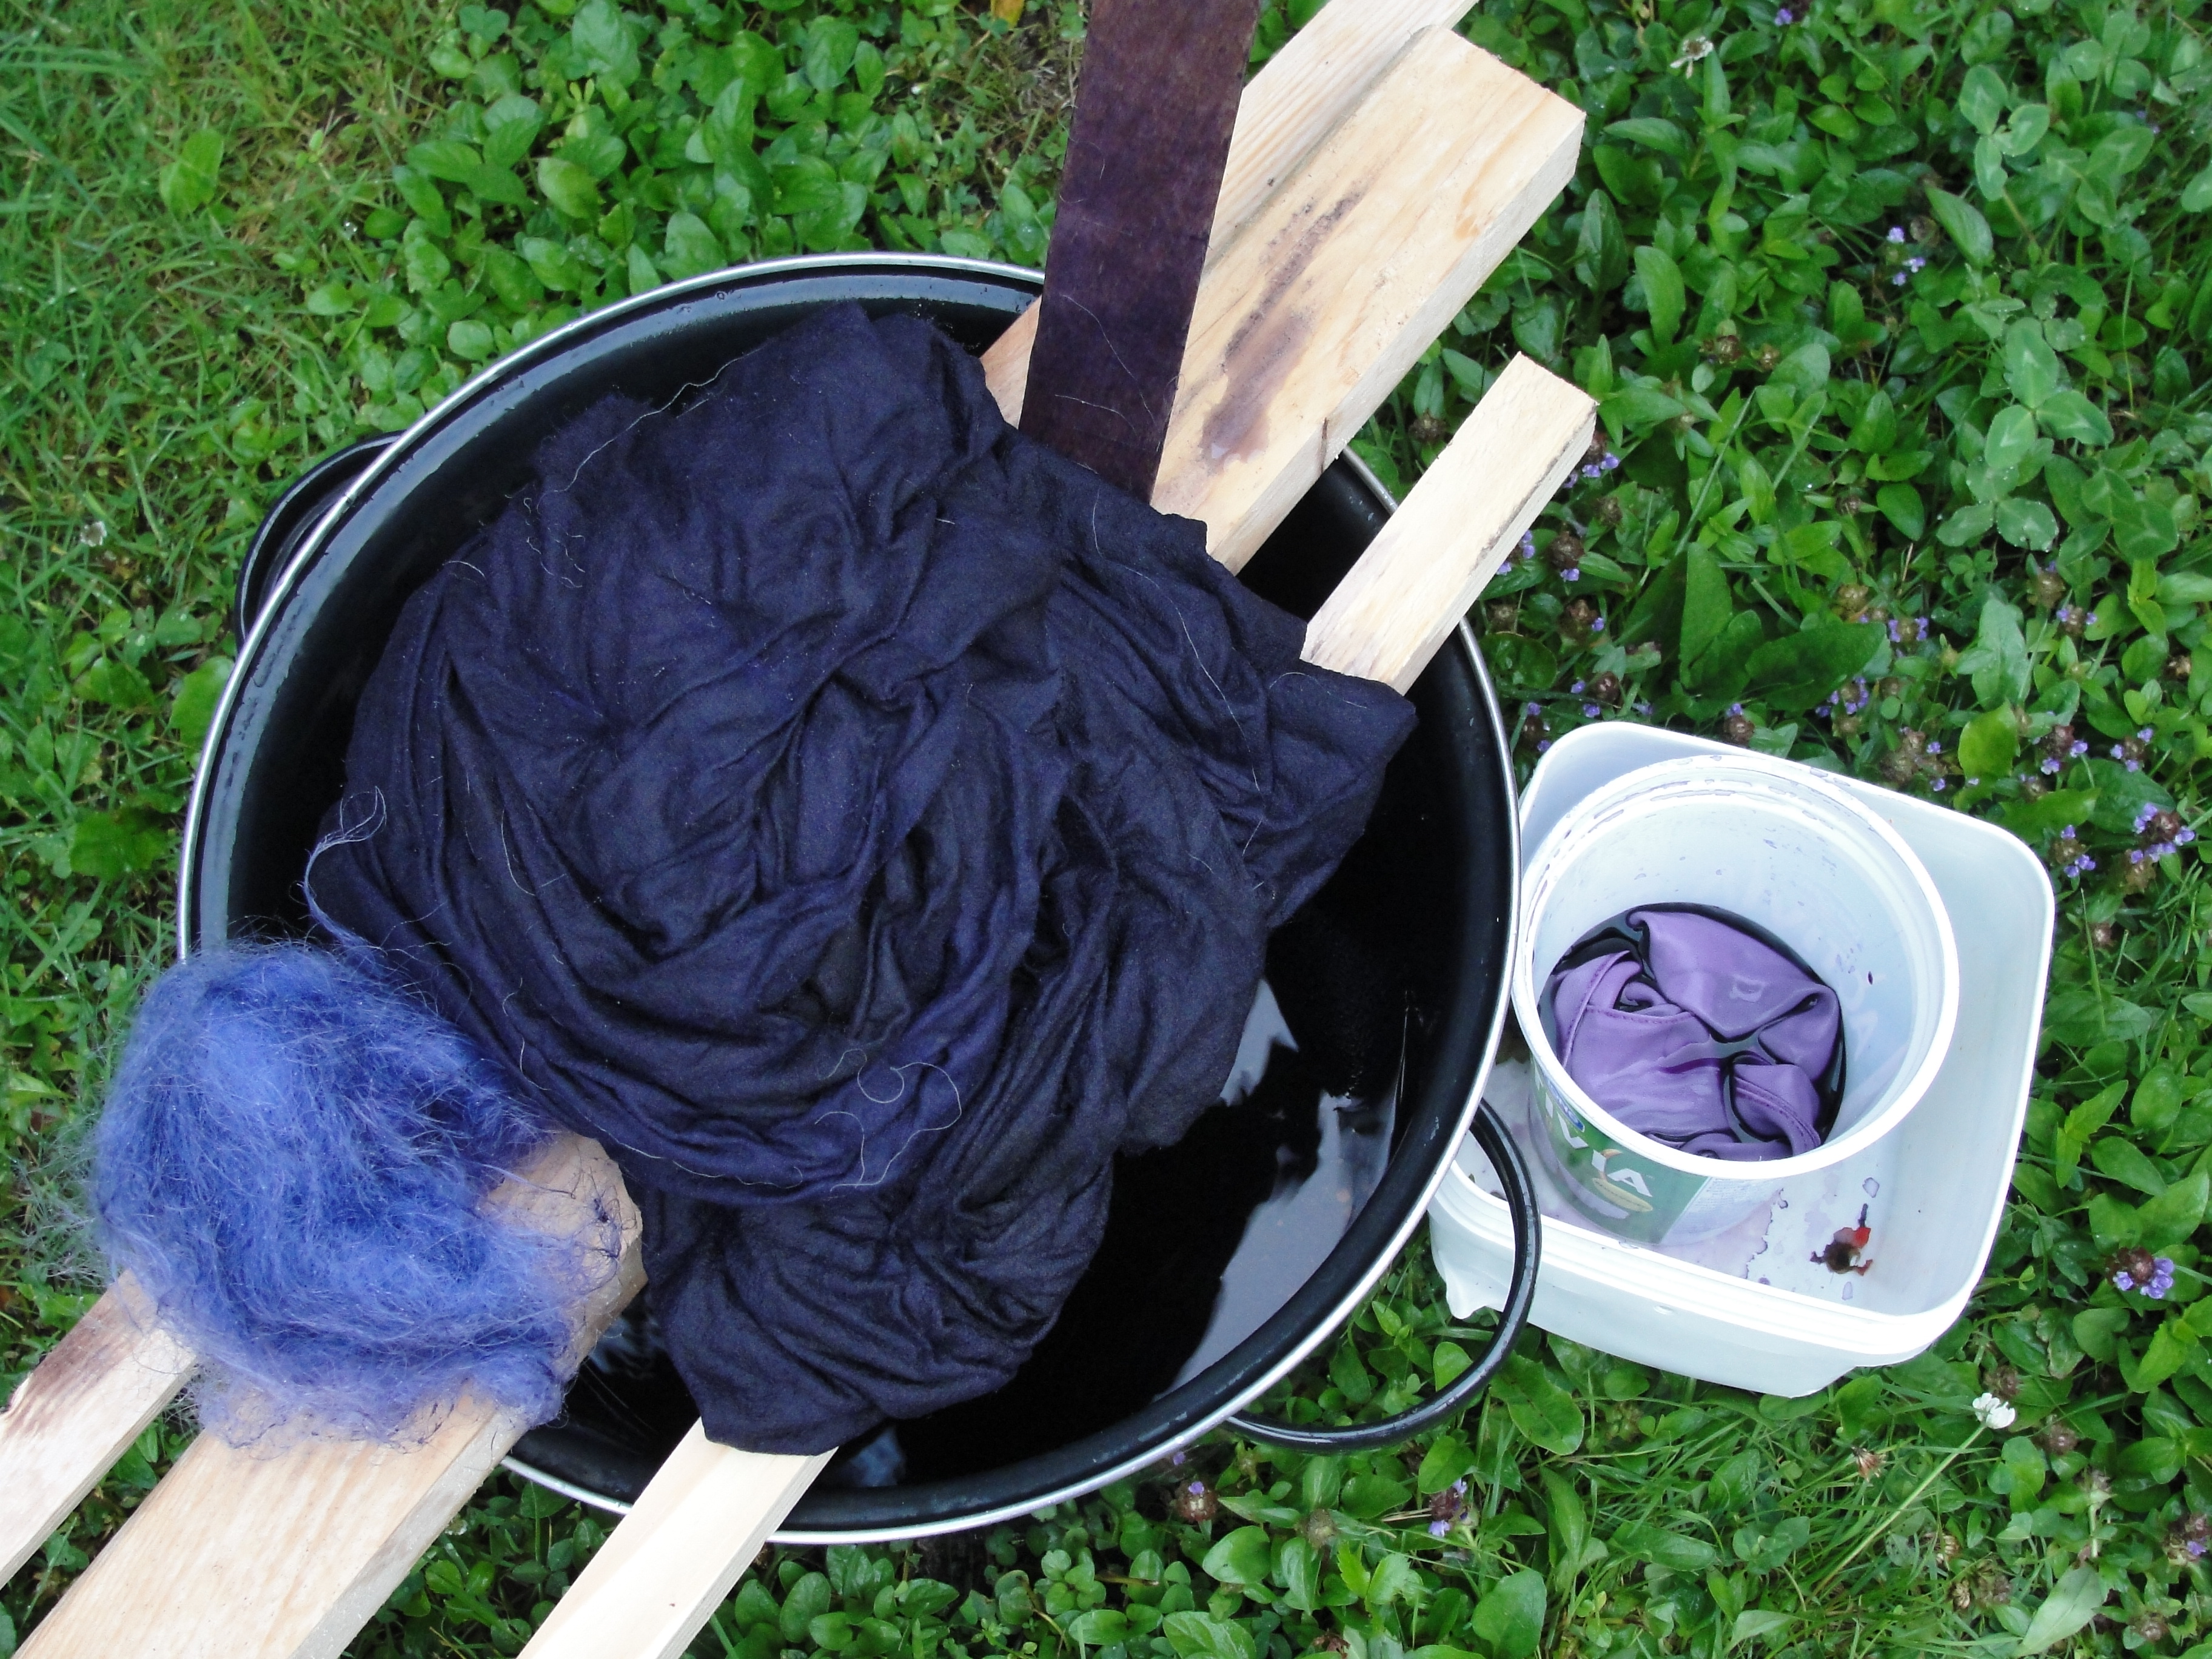
Draining the dye out before hanging out on ladder. The dyed fabrics were then rinsed out with cold water and then put into a bath of warm water with the fixative. They were then soaked in the water for about 30 minutes. After this it was amazing; not one bit of dye left the fabric as it was pulled from the bath. The fabric was then washed in a bucket of cold water, rinsed out with the hose, hung on the ladder until most drippings were finished and then hung on the clothesline.

Hanging the final pieces on the line to dry. The cotton flannel on the left, the fluff of wool, the burlap next and then the silk scarf on the far right. The burlap was in the pot put on the stove, folded over, and I believe the circle marks repeated on the burlap is some slight scorching at the bottom of the pot, despite frequent stirring. Interesting repeated design! The silk scarf changed colour slightly with some marks of more intense dye where the material had been sitting on top of itself. It was not silk after all as the dye didn’t take up properly on it. Thank goodness it wasn’t valuable. I couldn’t do a burn test on it as it was hemmed so finely and I didn’t want to chop into it. It will be a nice way to tie up a sleeping bag or wrap a strange present with.

Here, against the interior window, the purple burlap looks very dark and it certainly did take up the dye very well. I really like the idea of burlap window dressing. Recently I helped take down the grad decorations of burlap (natural coloured) and I really love the draping quality of it. This burlap is whitened somewhat and is left over from my experiment glueing it on a wood sided wall in my garden house and then whitewashed. I really like the texture of it although it was really hard not to have an occasional bubble in the cloth.
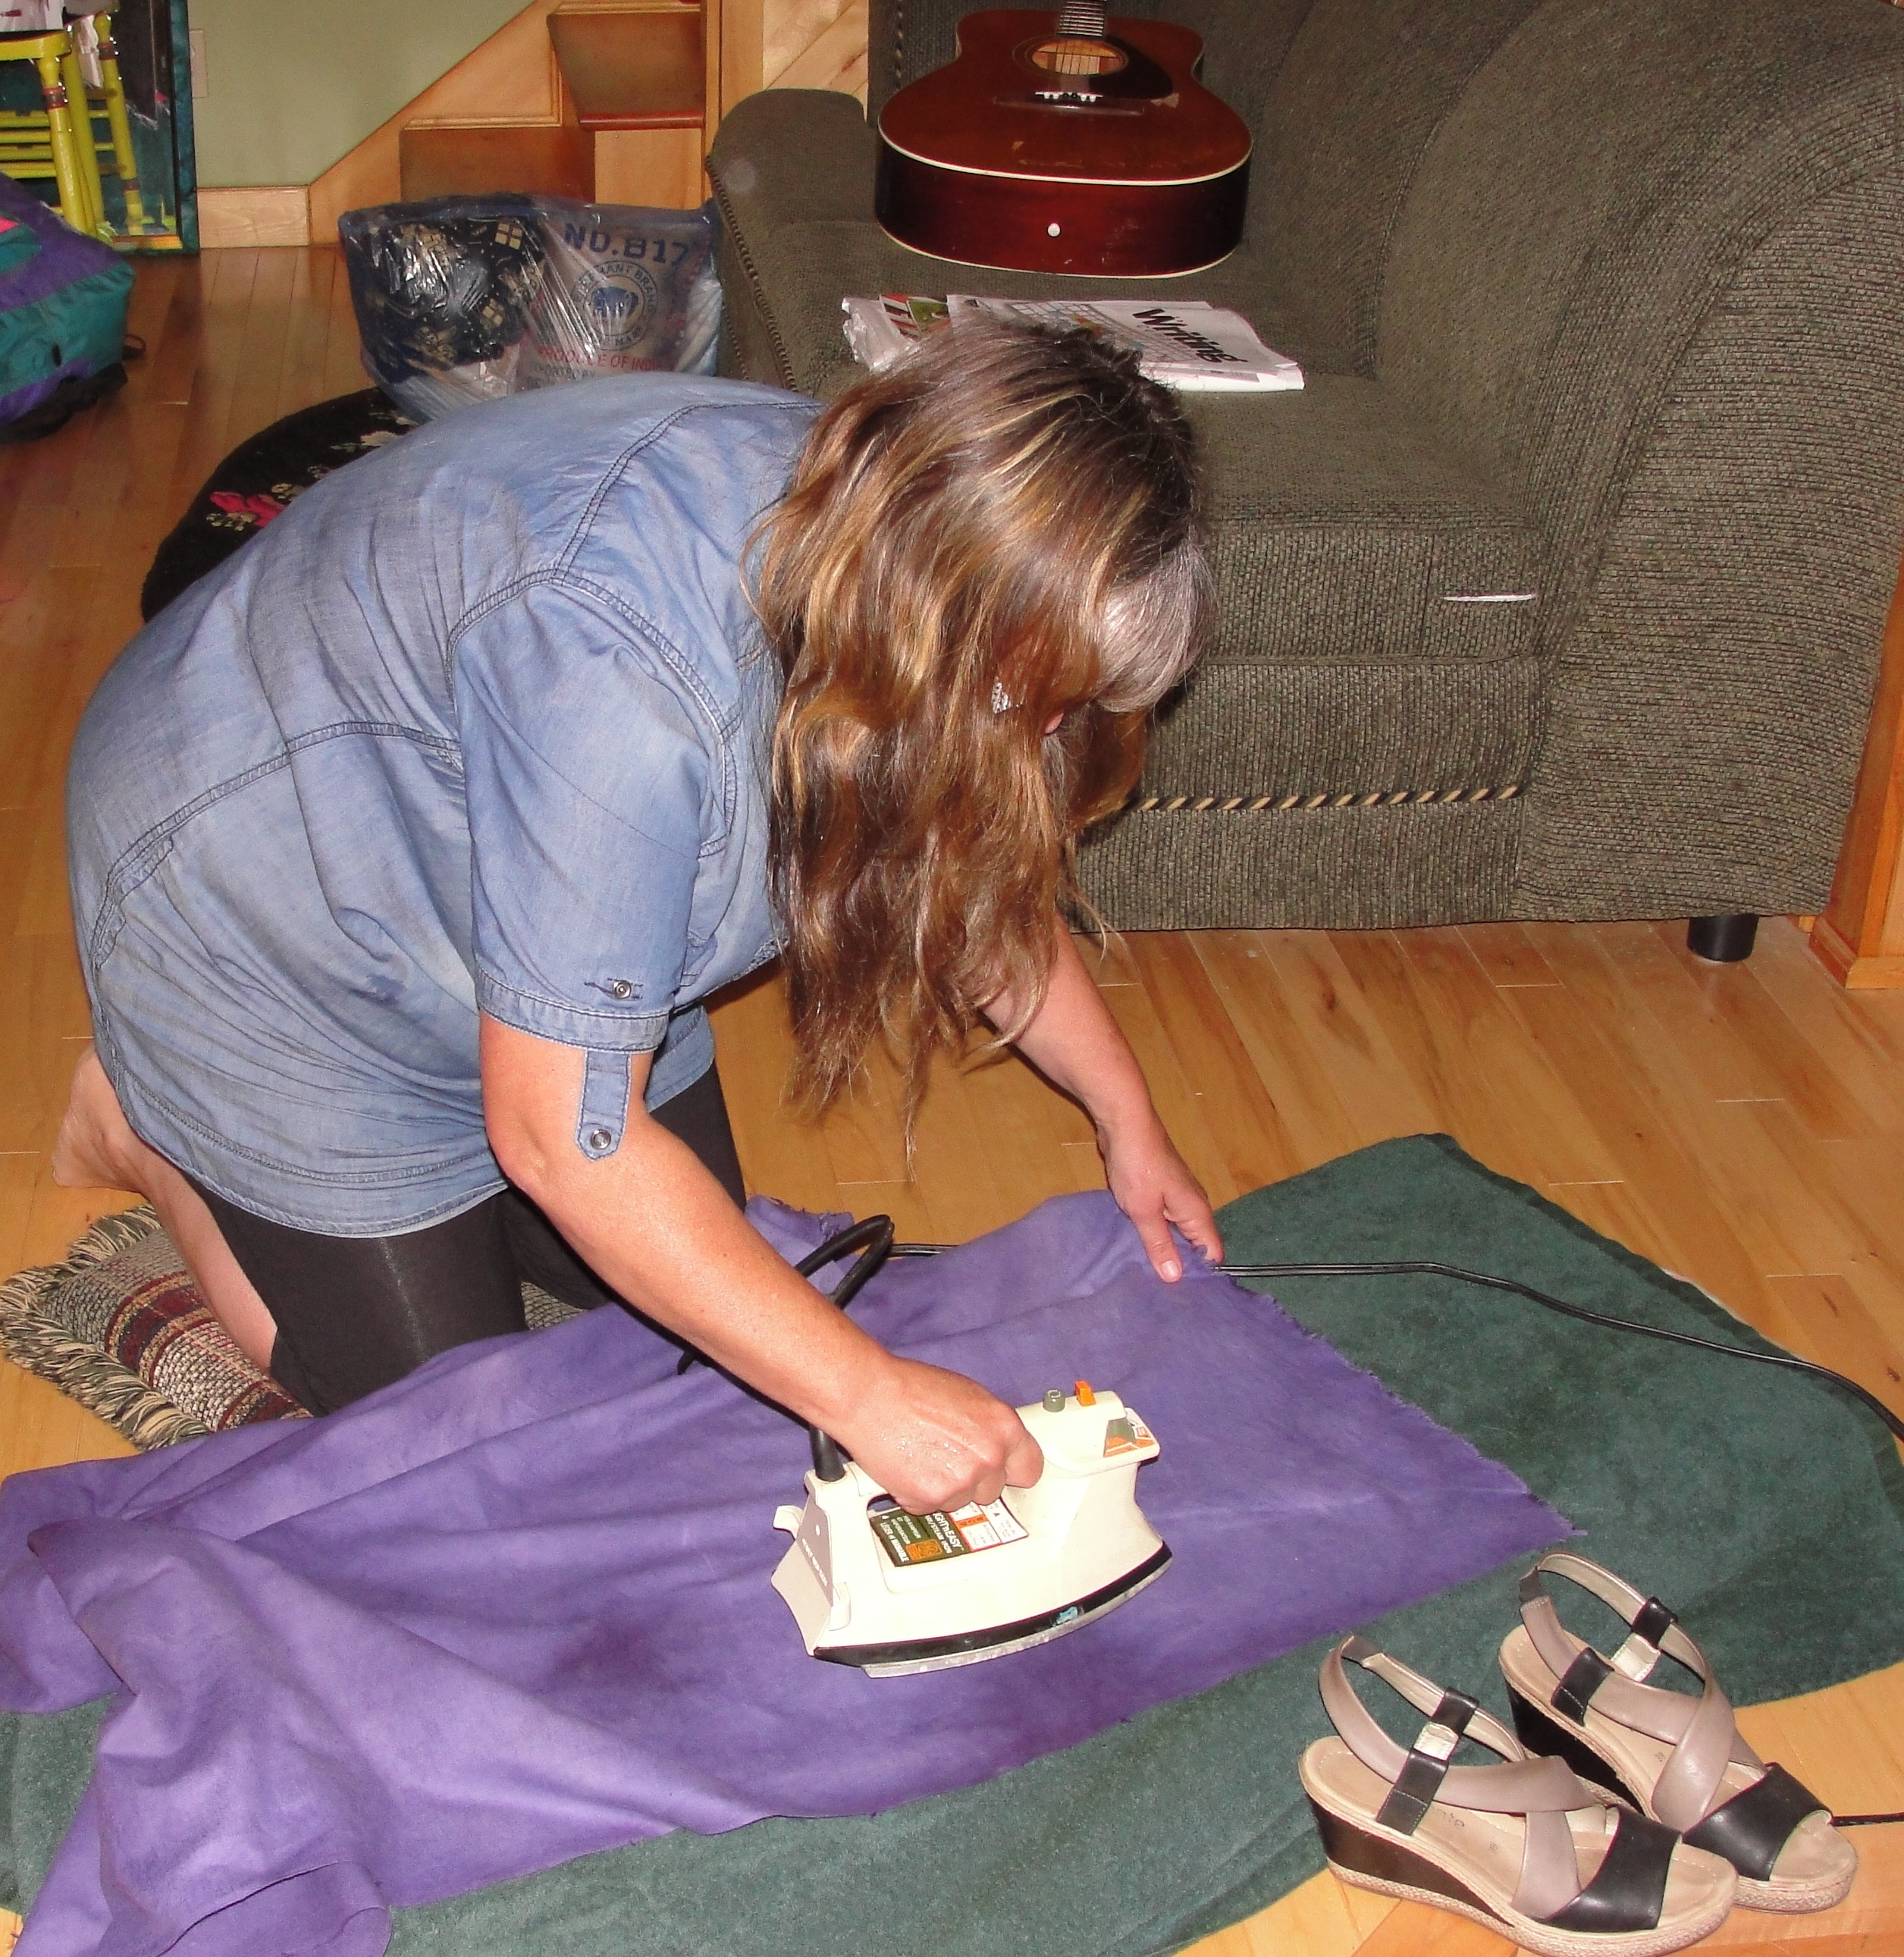
Ironing the purple flannel. I love the quality of the cloth and the new purple colour, is exciting. I’m imagining a body pillow or a large square one, purple on one side with the orange dye I have on the reverse side with some exciting and royal looking piecework between on the edging. I was going to dye the other piece of flannel (same size) in the orange but then realized the orange dye is for polyester and synthetics so will save that for another project and purchase some orange dye for the flannel. I love the complement of purple and orange; they are not directly across from each other on the colour wheel but are close, and the two always makes me think of saris. My first real dyeing project for years and the first one entirely on my own.

The final project above with the discharge project on the right. The wool fluff turned a lovely lighter colour of purple and I think the shade is beautiful. The cotton flannel is exotic and very purple. It isn’t uniform, as can be seen, but it’s got depth and I’m happy that it’s not solid everywhere. I’m surprised how dark the purple is and how perfectly both the flannel and the burlap took up the dye, and I guess because of using the fixative, how it seems permanent. I will certainly be careful whenever I wash it.
Two sources useful on dyeing are:
Adrosko, Rita J. Natural Dyes and Home Dyeing. Toronto: Dover Publications, Inc., 1971. An interesting look at the history of dyeing and a complete compendium of “how to”. Probably out of print but still sitting on my shelf waiting for bigger projects!
https://www.ritstudio.com/techniques/the-basics/how-to-dye-101/ A great page for beginners on the basic techniques of dyeing. The whole site has lots of information and interesting projects for the home and fashion.
Curriculum link to FST Textiles 7:
Dyeing projects: Lismore Sheep Farm is really close to my school and the owner is a school parent. I would ask her to come to my class and talk about wool, the structure of wool (use my microscope), the natural colours found in her sheep and how her business works. I would then have her demonstrate a burn test to have students see how the fibres react. We would then take carded wool puffs and mix up 3 colours of Kool-Aid in 3 containers at 3 different work stations. The class would be divided up into 3 groups with a monitor at each station. The students would dye their puff of wool (tying a piece of synthetic yarn around theirs to identify it. The students would move from station to station dyeing their wool. The class would note on the board the reactions they noted at each station. I would be interested in moving to secondary colours by mixing to create more colours. (A nice review of primary and secondary colours). I would also have them note how the synthetic yarn did not take up the dye. We would end the session by the guest showing the class the colours that she achieves in her work and some of the products that she makes from the wools (blankets, scarves, mittens, felted wool wall hangings, etc.).
Discharging Colour project

For discharging colour I wanted to use a cellulose-based fibre and found some linen in my tickle trunk. I cut it into squares thinking I might make unique napkins for the table with the results. I decided to keep the project simple and just see what designing a very basic pattern on it using bleach would turn out like.
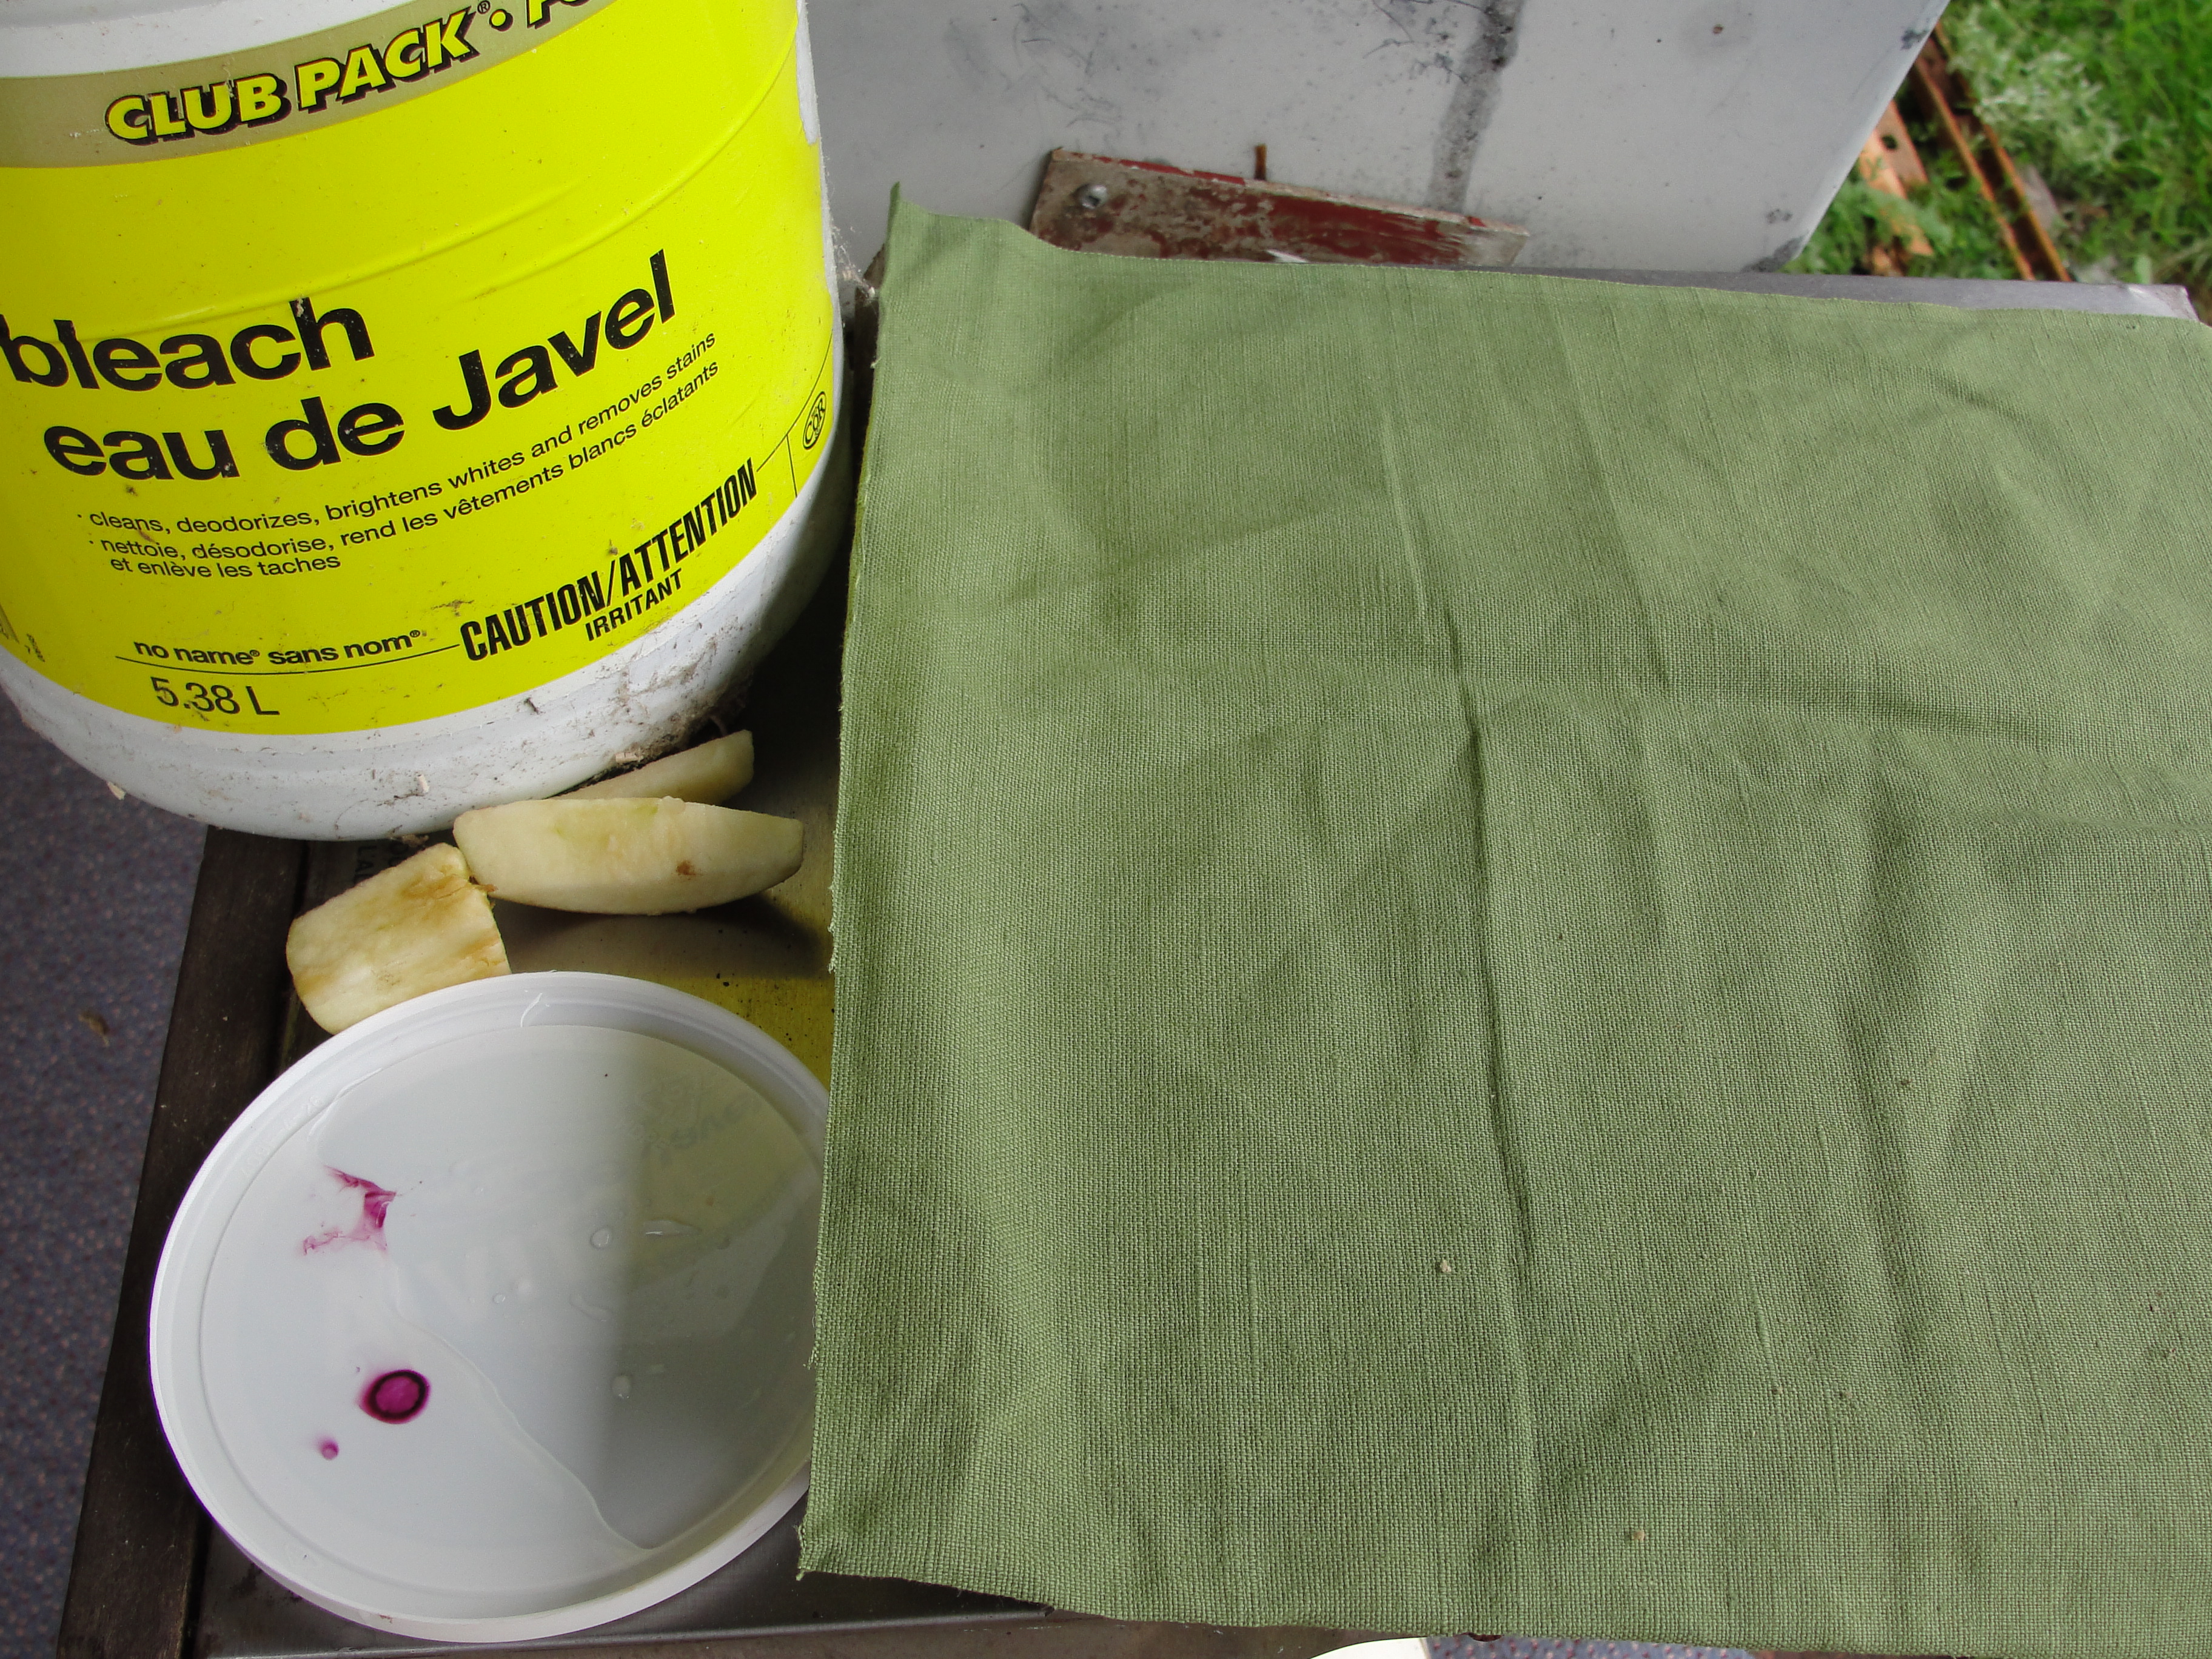
I lined up the bleach, a yogurt dish cover, some slices of apple and the cloth outside.

I first decided to use a fern leaf to get a delicate pattern. This wasn’t very successful. It was hard to judge how much to lay the fern in the bleach, how much to press it onto the cloth and I started having either much to delicate to see or too thick and blobby shape. It is amazing how quickly bleach works on fabric and the colour is instant. I was surprised how orange it looked- right away. So then I used the piece of apple- stamping the star of the core with various amounts of pressure and soaking level of bleach. I got some big globby rounds of bleached sections but then worked with thinner pieces of apples to have some delicate lines. I started to see possible shapes in the fabric and wished I had been more creative before I started and doing an Aboriginal design or Hopi or something else. But it is what it is .

In the photo above you can see the rinsed out cloth with the bleach design next to the dyed flannel, drying on the clothesline. Strange birds, mushroom things, etc.
And finally the finished product, nicely ironed. I think I might embellish it, hem it and try it out as a napkin. Good also to wrap some fresh home-made tortillas in it for the table. I think it turned out okay but I would be much more careful with the design and then experiment with pressure and amount of bleach on another piece of fabric.
Two sources of information on colour discharge are:
http://www.dharmatrading.com/techniques/discharging.html (a really interesting site for working with various agents and fibres; not designed for students in middle schools but an excellent source of information for the teacher).
http://www.jacquardproducts.com/dischargepaste.html (this is the company website for the dye and fixative that I used for my project. They have a wealth of information on here about various agents. The paste mentioned on the opening page is for natural fabrics but there are many products in their line.)
I would also have students research some of the textile industries in Bangladesh where pollution from textile dyeing and discharging are ruining the environment. I think this would be a good link to social justice and sustainability in the FST curriculum.

Having students do research around the pollution factor caused by the textile industry is a marvellous idea, many people, me included, are unaware of the large impact this industry has on the environment and the lives of the workers and communities in which they are located.
LikeLike
Thanks Jyl. There is lots of information out there in the form of articles and films about the textile industry/ pollution, especially since the disasters recently in Bangladesh.
LikeLike
This is such an exciting project. I can readily see that you embraced many of the concepts important to successful dyeing: 1) know your fibres; 2) assemble all ingredients; 3) create a safe dye space; 4) keep records of what you are doing so you’ll know how to get a similiar result in future (or the contrast, what to avoid doing in the future). Your comments on why the dye works or not are interesting and insightful.
Wetting down fabric is essential to consistent colour absorption, as you mentioned. It is interesting that you did this for some, not all, fabric sample.
I love the phrase ‘wool puffs’ for fleece samples. Puffs puffs puffs!!! That might be an excellent term to use working with children depending on their ages? So long as they connect the dots that the ‘puffs’ came from the backs of animals.
I find learning about dyeing animal fibres helps youth better understand how to dye their own hair successfully – so long as vibrant hair colours remain fashionable?
LikeLike
Thanks Cathy. Encouraging points you made and an interesting connection to hair dye; never thought of that!
LikeLike